Ⅳ Unity3D Tutorial _ Scene View, Unity Project, Asset, Prefabs, Newscripts “ChangeColor”
unity.com -> download
c++을 사용한 데스크톱 개발, Unity를 사용한 게임 개발 체크 후 설치
What is Unity
■ Free* multi platform (game) development tool
- Set up scenes visually
- Attach components to Gameobjects
- Logic in scripts (Mono-C# or Javascript)
- Integrated physics (PhysX), RakNet
- (networking), sound etc...
- Multi-platform, including web player
■ Unity 3D uses a left-handed coordinate system


■ 유니티의 역사
- 2005년 6월, 덴마크의 무명 개발자 3명이 모여 맥 전용 게임 엔진 공개
- 2005년 11월, 윈도우 플랫폼 지원
- 2006년 11월, 5종류의 웹브라우저 지원
- 2008년 Wii와 아이폰 지원
- 2010년 9월, 안드로이드, Xbox 360, Playstation 3 지원
- Unity 4.3 - 2D Game Development Walkthrough
- 2023년 3월 현재 – Unity 2021.3.21f1
Where to Get..
■ Tutorial
■ Download

■ Unity3D Install

Unity Interface
■ Learning the Interface
The Main Editor Window is made up of several Tabbed Windows, called Views
• Project Window, Hierarchy Window, Toolbar, Scene View, Game View, Inspector Window, Other Views

■ Project Window
access and manage the assets that belong to your project

■ Hierarchy Window
contains every GameObject in the current Scene
Parenting
• To make any GameObject the child of another, drag the desired child onto the desired parent in the Hierarchy.
- A child will inherit the movement and rotation of its parent.
계층구조, 트리구조로 구성되어 있다.
부모가 회전/운전 -> 자식도 영향을 받는 구조


■ Inspector Window
displays detailed information about your currently selected GameObject, including all attached Components and their properties


■ Toolbar
The Toolbar consists of five basic controls. Each relate to different parts of the Editor.


2) 변환된 위치값으로 할지, local 위치값으로 할지 결정
3) 플레이&스탑 버튼
4) 뒤에가서 설명
■ Scene View
use the Scene View to select and position environments, the player, the camera, enemies, and all other GameObjects
Scene View Navigation
• Move around on the X/Z plane : Use the arrow keys
• Flythrough mode
- Hold the right mouse button
- This turns your mouse and WASD keys (plus Q and E for up and down) into quick first-person view navigation
- Hold Alt and left click-drag
- Hold Alt and middle click-drag
- Hold Alt and right click-drag or use scroll-wheel


■ Scene View
- Scene Gizmo 카메라가 현재 어떤 방향을 바라보고 있는지 알려주는 기능
멀리있으면 작게 보이고 어디있든 동일하게 보이는 기능
보통은 perspective 원근투사법을 사용
■ Scene View에서 제일 많이 사용하는 기능
• Focusing

add component rigdbody ~ 중력적용
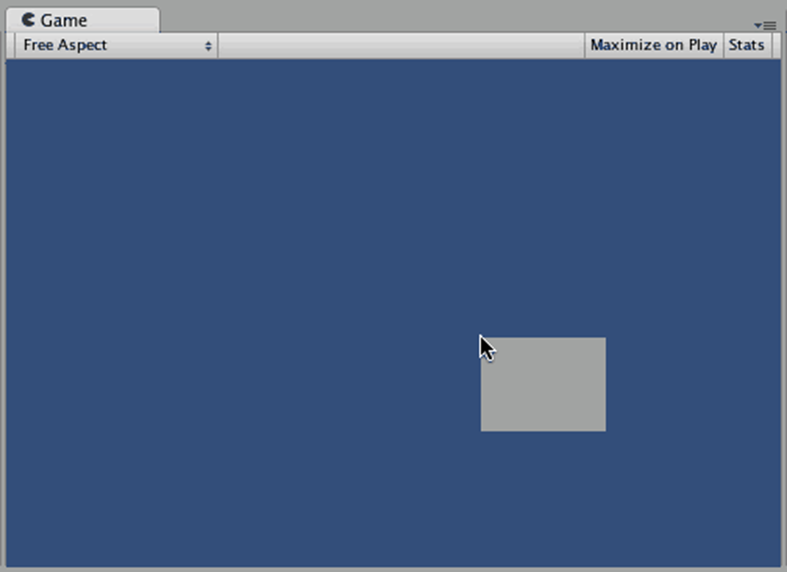
■ Game View


■ Other Views
Customizing Your Workspace
■ Customizing Your Workspace
customize your Layout of Views by click-dragging the Tab of any View to one of several locations
Unity Project
■ ★프로젝트 구조
Scene 과 Asset 으로 구분

한 판 두 판의 개념의 Scene이 있고 그 안에 게임 오브젝트들이 올라간다.
그리고 게임 오브젝트들 안에는 각종 컴포넌트들이 들어가는데, 앞서 사용해본 중력기능처럼 적용해서 사용 가능
Asset은 지금은 사용 안 하지만 앞으로는 사용할 수 있는 게임 자원들
■ Scene
게임제작을 위해 제공하는 하나의 가상 3차원 공간
게임(프로젝트)은 여러 개의 Scene으로 구성

■ Asset : Scene을 구성하기 위해 공용으로 사용되는 물질적인 자원


Unity Package
■ Unity Asset


실제 다운받아서 사용가능 (Asset Store)
■ Unity Standard Asset Package


Prefabs
■ Prefabs
a type of asset : a reusable GameObject stored in Project View

- Creating Prefabs
1. In Hierarchy View, select the GameObject you wish to make into a Prefab.
2. Drag & drop the GameObject from the Hierarchy onto the Project View.
3. The GameObject's name will turn blue to show that it is a Prefab.


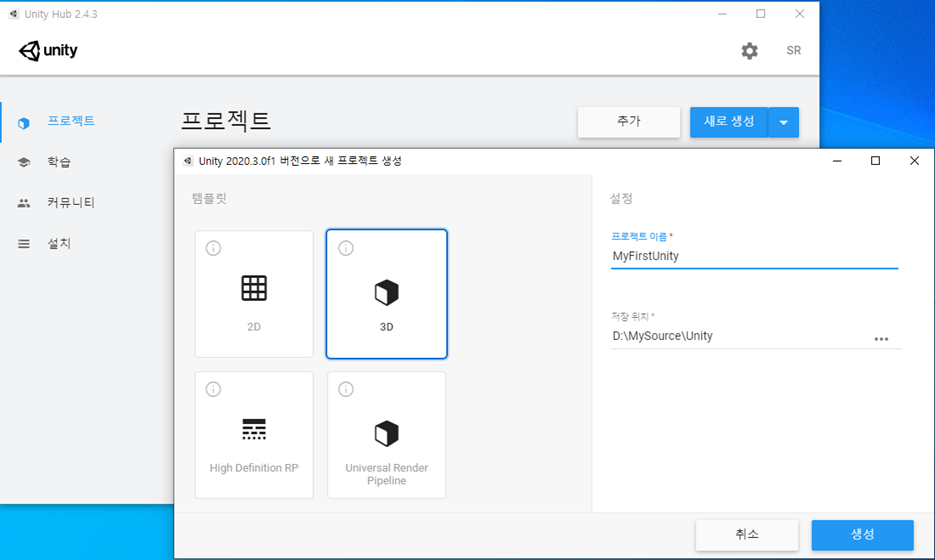
Your First Unity Project (1/3)
■ Your First Unity Project
Open Unity Hub
Select Project Tab & 3D Template
Make New Project “MyFirstUnity”
Your First Unity Project (2/3)
■ Your First Unity Project
Create Plane
Create Cube
Your First Unity Project (3/3)
■ Your First Unity Project
Select “Cube”
using UnityEngine;
using System.Collections;
public class ChangeColor : MonoBehaviour
{
void Update() {
if (Input.GetKeyDown(KeyCode.R))
GetComponent<Renderer>().material.color = Color.red;
if (Input.GetKeyDown(KeyCode.G))
GetComponent<Renderer>().material.color = Color.green;
if (Input.GetKeyDown(KeyCode.B))
GetComponent<Renderer>().material.color = Color.blue;
}
}
assets) script - new script - newcolor (더블 클릭, Visual Studio 연동 및 코드 복붙) -> 실행
Your First Unity Project
■ Script Editor using Visual Studio
Select Edit menu >> Preferences >> External Tools


■ Reference